How to Build a GPT-3 Powered Serverless App using NextJS & React?

Step by Step, Practical Guide to building a GPT-3 Powered serverless App using NextJS & ReactJS.
It covers below topics:
- Requirements
- Creating the NextJS App
- Installing Dependecies
- Adding GPT-3 Functionality
- Wrap-up
If you just want to directly download and run the code, you can get it from here
Requirements
GPT-3 API Key
In order to build a GPT-3 Powered App, you need to have the API key from OpenAI. For that, you need to apply for access to the API. If you don’t have the access yet, I wrote a guide on how to get access to OpenAI GPT-3 API
NodeJS
You should have NodeJS 10.13 or later installed.
Setup
Create NextJS App
We will be using the NextJS’s create-next-app app template to create a starter app that we will later build on.
To get started, Open your command line or Terminal App and run below command
npx create-next-app gpt-3-appThe gpt-3-app at the end of the above command is the folder name where your app should be created. You can name it whatever you want.
Or you could also use yarn command to do the same thing, like this.
yarn create next-appThis will install the bare minumum dependecies like react, react-dom, next etc and create structure for a simple NextJS App.
After the installation is complete, in the Terminal
or command line app, change directory to the newly created app folder, for example.
cd gpt-3-appReplace gpt-3-app with the folder name you used earlier while creating the nextjs app.
Next. run the below command to start the app in development mode and see if everything is working fine so far.
yarn devIt will start the starter app on a URL similar to this - http://localhost:3000
And if you open it in your browser, you should see something like this.
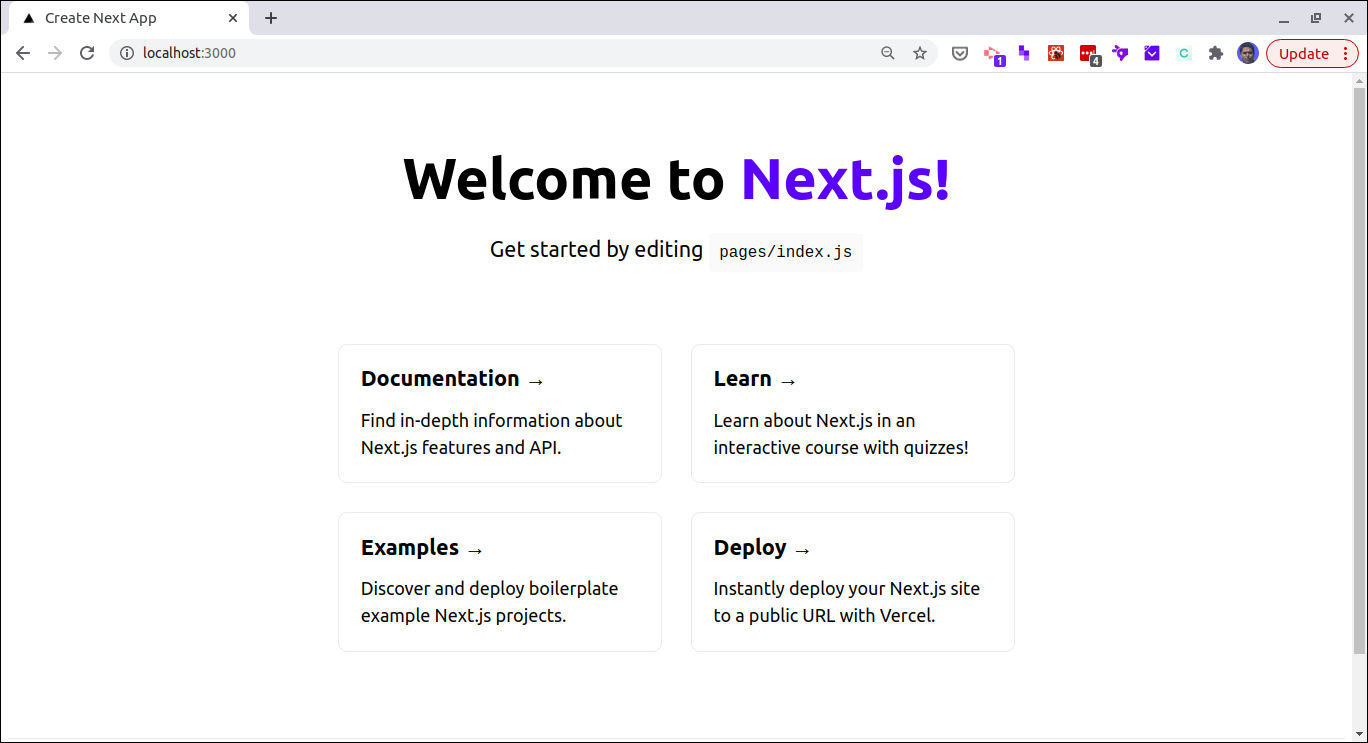
If you run into any issues with this step, check out NextJS Docs.
Add Dependencies
We will install only one more dependecy. It is openai-api node module. It’s a tiny wrapper around GPT-3 API.
First, stop the app by typing Ctl+C and pressing enter in the command line.
Next, to install the module, run below command from the app folder.
npm i openai-apiAdd GPT-3 Functionality
Since, this app involves calling OpenAI GPT-3 API with a secret key, we don’t want it exposed in the browser to anybody. Hence, we will define our own API endpoint that will in turn call the GPT-3 endpoint.
First create a new file called .env.local in the project directory and add your OpenAI API key like this.
OPENAI_API_KEY=your-api-keyMake sure .env.local is added to the gitignore before checking your code into a git repository. You don’t want exposing your secret API key to public leading to misuse and getting suspended by OpenAI.
Next, we define our API endpoint. Create a file called openai.js in pages/api/ and add below code to this file.
const OpenAI = require('openai-api');
const openai = new OpenAI(process.env.OPENAI_API_KEY);

export default async (req, res) => {
  let prompt = `Artist: ${req.search}\n\nLyrics:\n`;
  const gptResponse = await openai.complete({
    engine: 'davinci',
    prompt: prompt,
    maxTokens: 50,
    temperature: 0.7,
    topP: 1,
    presencePenalty: 0,
    frequencyPenalty: 0.5,
    bestOf: 1,
    n: 1
});

  res.status(200).json({text: `${gptResponse.data.choices[0].text}`})
}
In the above code, we start by importing the openai module
and getting the API key from the env file. We then define a async function that will take user input from the req and call the OpenAI GPT-3 API using the Openai module. Inside the call, we are also passing some paramters for the GPT-3 API. Check out my GPT-3 Guide for a detailed description of these paramters.
The inspiration for this particular GPT-3 prompt is from here
Next, we add the code to trigger this API from the user interface and using the output to display to the user.
Replace the code from the pages/index.js with this.
import Head from "next/head";
import styles from "../styles/Home.module.css";
import { useState, useEffect } from 'react';
export default function Home() {
const [data, setData] = useState( { text:'' });
const [query, setQuery] = useState();
const [search, setSearch] = useState();
const [isLoading, setIsLoading] = useState(false);
useEffect(() => {
const fetchData = async () => {
if (search) {
setIsLoading(true);
const res = await fetch(`/api/openai`, {
body: JSON.stringify({
name: search
}),
headers: {
'Content-Type': 'application/json'
},
method: 'POST'
})
const data = await res.json();
setData(data);
setIsLoading(false);
}};
fetchData();
}, [search]);
return (
<div className={styles.container}>
<Head>
<title>GPT-3 App</title>
<link rel="icon" href="/favicon.ico" />
</Head>
<main className={styles.main}>
<h1 className={styles.title}>
<a>AI Lyrics Generator</a>
</h1>
<p className={styles.description}>Built with NextJS & GPT-3 API</p>
<div className={styles.grid}>
<div className={styles.card}>
<h3>Enter Artist:</h3>
<input
type="text"
value={query}
onChange={event => setQuery(event.target.value)}
/>
<button
type="button"
onClick={() =>
setSearch(query)
}
>
Generate
</button>
<h4>Lyrics</h4>
{isLoading ? (
<div>Loading ...</div>
) : (
<span>
{data.text}
</span>
)}
</div>
</div>
</main>
</div>
);
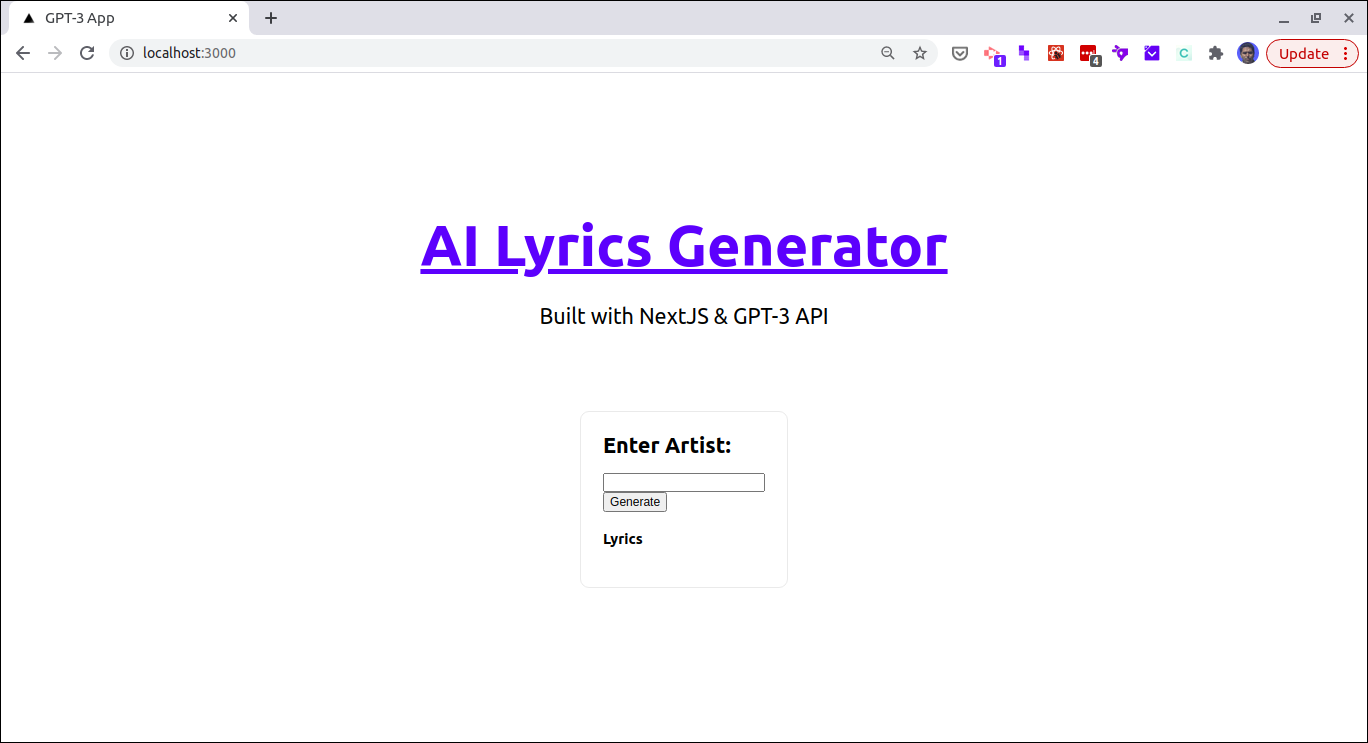
}Start the dev server with yarn dev and you will see this.
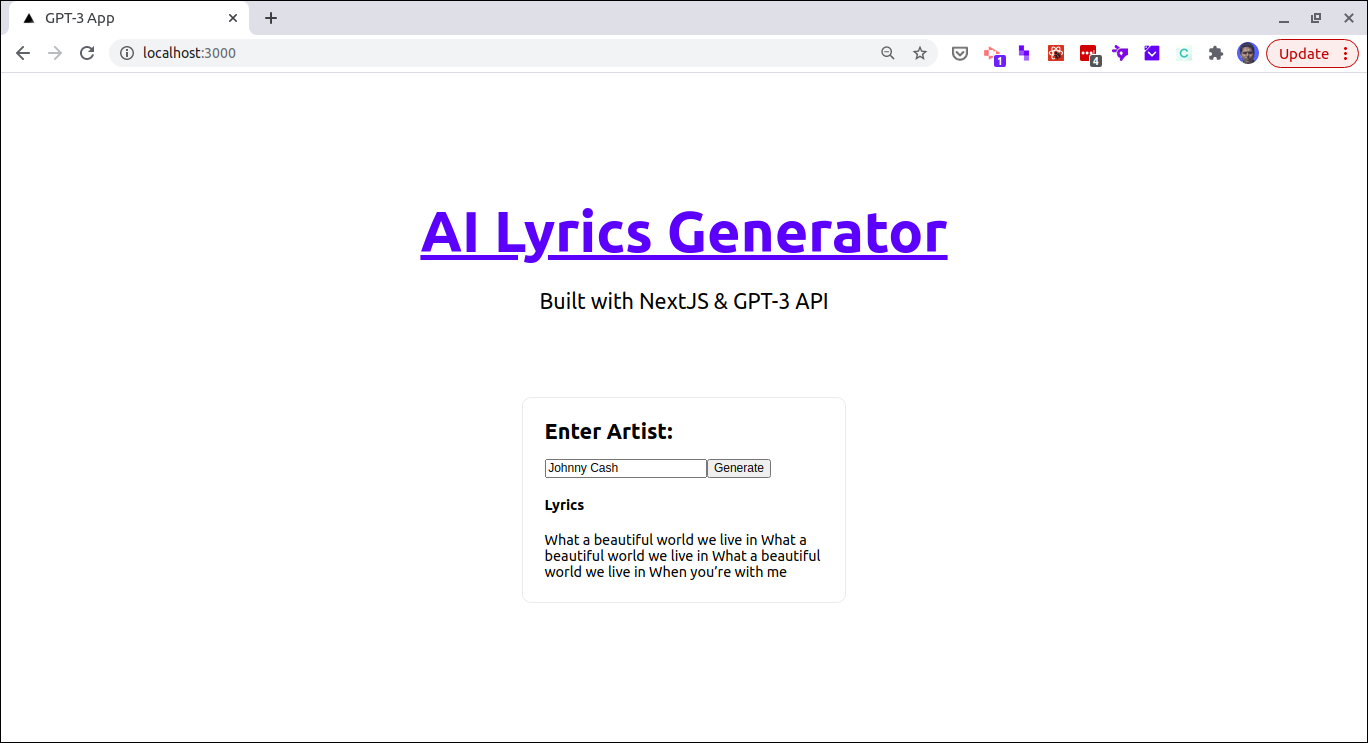
To test it, enter a Musician’s name in the text field and press generate. It will generate lyrics that will be on the lines of the body of work already done by that Musician.
Complete Code on github
What’s next
You cannot release a GPT-3 API powered app without approval from OpenAI. This is the reason I am not sharing the link to the hosted version of this app. However, here is the short demo of the completed App.
Some of the things that are required for approval are adding user authentication and other safety features to the app. For a walk-through on what it takes to build and launch a GPT- powered app that can be made available public, read my article here.
If you want to convert this template into a full fledged app, you can use this NextJS/ReactJS code generator
I have used this code generator to build multiple apps for my clients as well as for myself.